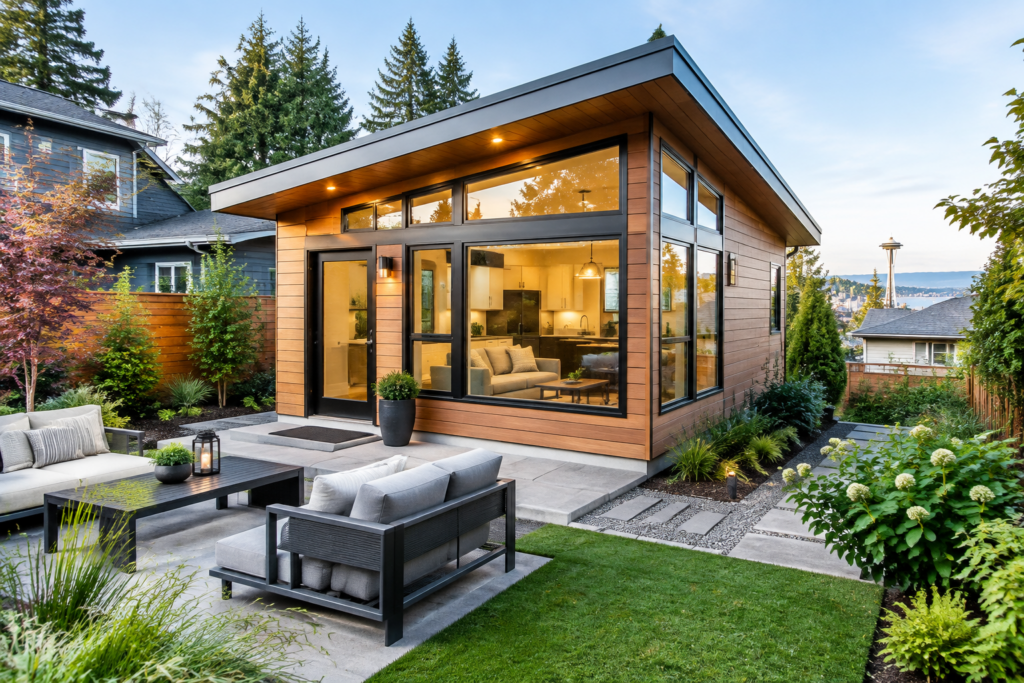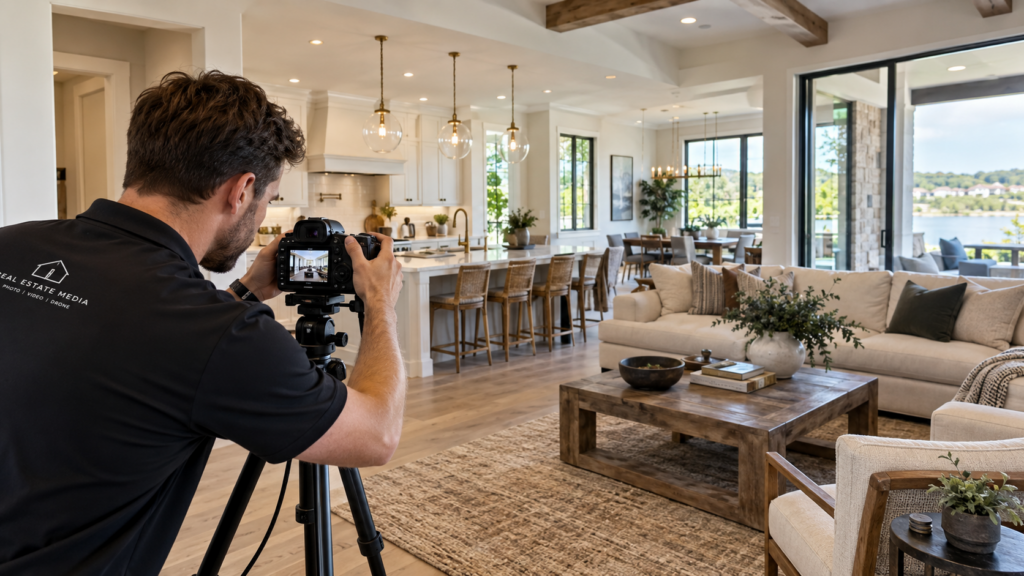
When buyers search for homes in the USA, the first impression often happens on a screen rather than at the front door. Before scheduling a showing, buyers can scroll through dozens of listings, compare properties, save favorites, and quickly move past homes that fail to capture their attention.
That makes stronger listing photos an important part of modern real estate marketing.
Professional photography cannot change the location, floor plan, or condition of a property. What it can do is present the home clearly, accurately, and attractively so buyers can understand what makes the property worth a closer look.
The National Association of REALTORS® has emphasized the importance of listing photography. In 2025 data cited by NAR, 81% of buyers rated listing photos as the most useful feature when evaluating properties during their online home search.
That means agents and sellers should treat photography as more than an afterthought. A well-prepared home, thoughtful composition, good lighting, and accurate editing can make a major difference in how a listing is presented online.
Why Stronger Listing Photos Matter in Real Estate Marketing
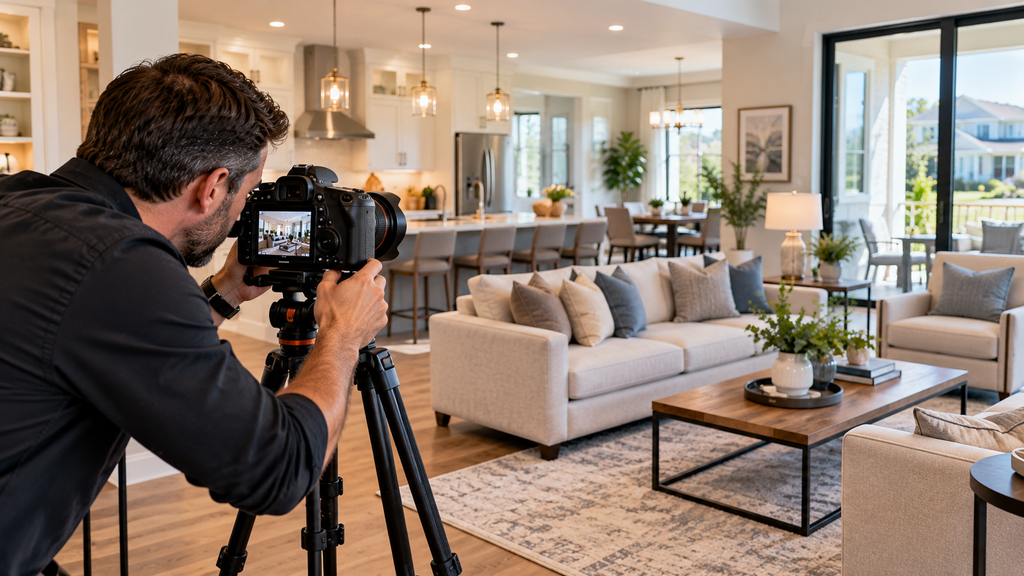
Online buyers do not experience a property the same way they experience it in person. They cannot immediately feel the size of a room, notice the quality of the finishes, or walk from the kitchen to the backyard.
Photos have to communicate much of that information visually.
NAR has reported that buyers increasingly begin their home search online, while photos remain one of the most useful website features during the search process.
Photos Help Create the First Impression
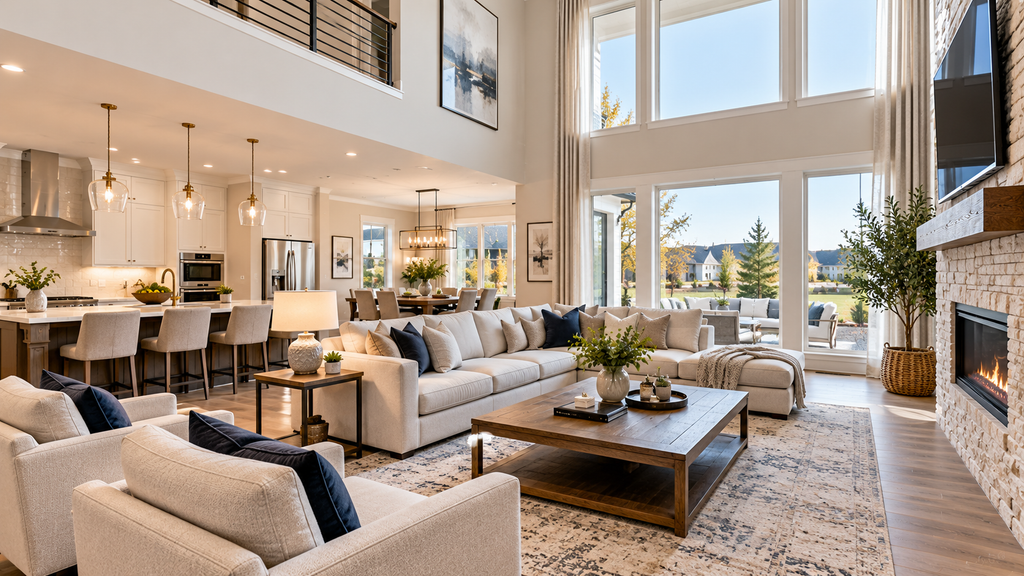
The first image in a listing can determine whether someone stops scrolling or moves to the next property.
A strong lead photo should immediately communicate something appealing about the home. Depending on the property, that might be an attractive exterior, an inviting living room, a remodeled kitchen, or a distinctive architectural feature.
The goal is not necessarily to make the home look luxurious. The goal is to make the home look appealing, understandable, and worth exploring.
Photos Set Expectations
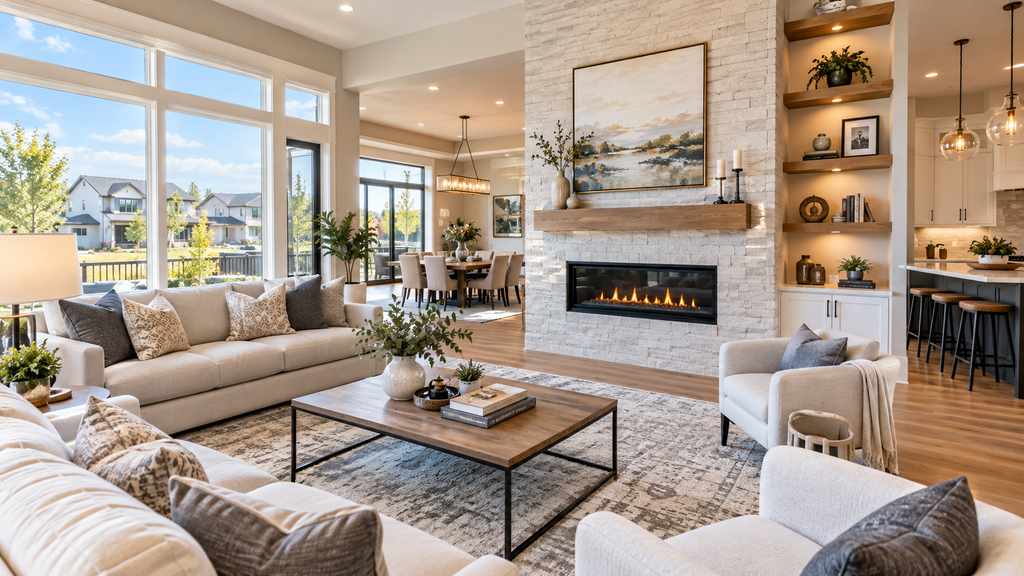
Good listing photography should accurately represent the property.
If a home looks completely different online from what buyers encounter during a showing, the photography can work against the seller. Current NAR coverage has highlighted concerns about digitally altered images that make properties appear substantially different from reality.
The strongest listing photos create interest without creating unrealistic expectations.
1. Prepare the Property Before Taking Photos
Better photography starts before the camera comes out.
A professional photographer can improve lighting, composition, and exposure, but preparation still matters.
Walk through the property room by room and remove anything that distracts from the main features.
Consider putting away:
- Excess countertop appliances
- Personal photographs
- Loose paperwork
- Toys
- Pet accessories
- Trash cans
- Excess decorative items
- Cleaning supplies
- Cords and unnecessary electronics
NAR’s guidance recommends reducing clutter and carefully preparing backgrounds because cameras can emphasize visual distractions that may not seem obvious during an ordinary walkthrough.
Keep the Design Simple
A room does not need to be completely empty.
A few carefully selected accessories can make a space feel comfortable and inviting. However, too many decorative items can compete with the home’s actual features.
The objective is to help buyers notice the space rather than the decorations.
2. Clean Every Room Before the Photo Shoot
Dust, fingerprints, streaks, crumbs, and dirty surfaces can become much more noticeable in high-resolution photographs.
Before photography begins, clean:
- Windows
- Mirrors
- Countertops
- Floors
- Appliances
- Light fixtures
- Glass doors
- Bathroom surfaces
NAR specifically recommends dusting and vacuuming before photographing a property because small particles and marks can become more visible under photographic lighting.
Pay special attention to kitchens and bathrooms because reflective surfaces can make small imperfections stand out.
3. Use Lighting to Create Stronger Listing Photos
Lighting is one of the most important elements of real estate photography.
A dark photograph can make a beautiful room feel smaller and less inviting, while excessive sunlight can create harsh highlights and deep shadows.
Balance Natural and Artificial Light
Open curtains and blinds when appropriate, but pay attention to direct sunlight.
NAR recommends watching the amount of sunlight entering rooms and notes that overcast conditions or certain times of day can produce more balanced lighting.
Turn on appropriate interior lights as well.
Replace burned-out bulbs before the photo shoot and make sure lighting throughout the home looks consistent.
Avoid Extreme Brightness
Overexposure can remove detail from windows, walls, and light-colored surfaces.
The goal is balanced exposure where buyers can see the room clearly without losing important architectural details.
4. Make the First Photo Count
The lead image deserves special attention.
It is often the photograph buyers see first when a listing appears in a search result or social media post.
Choose an image that immediately communicates the property’s strongest visual quality.
For a suburban home, this might be an attractive front exterior.
For a luxury condo, it might be a sophisticated living area or city view.
For a home with a remarkable kitchen, the kitchen could be the strongest visual introduction.
Do not automatically use the front exterior simply because it is conventional. Think about which image best represents the property.
5. Photograph Every Important Space
A strong listing should give buyers a useful visual understanding of the property.
NAR recommends photographing key rooms as well as notable features such as fireplaces, closets, outdoor areas, and other details that help buyers understand the home.
Consider including:
- Front exterior
- Entryway
- Living room
- Kitchen
- Dining area
- Primary bedroom
- Primary bathroom
- Additional bedrooms
- Home office
- Laundry area
- Garage
- Backyard
- Patio or deck
- Pool
- Major upgrades
- Unique architectural details
The exact photo selection should reflect the property’s features rather than following a rigid checklist.
6. Use Wide-Angle Photography Carefully
Wide-angle lenses are useful in real estate photography because they can show more of a room in a single frame.
However, going too wide can distort the appearance of a property.
A small room should not look enormous online if it cannot realistically feel that way in person.
NAR specifically recommends using wide angles carefully to avoid unrealistic proportions and buyer disappointment during an in-person visit.
The best approach is to show the room’s layout honestly while making efficient use of the available frame.
7. Improve Composition and Camera Height
Composition determines how the viewer experiences a photograph.
Avoid pointing the camera too high or too low unless the situation specifically calls for it.
A balanced composition should usually show enough floor, walls, ceiling, and furniture to communicate the proportions of the room.
NAR’s photography guidance recommends considering chest-level shooting height and balancing floor and ceiling space rather than leaving large areas of unnecessary empty space.
Straight vertical lines are also important. Walls, door frames, cabinets, and other architectural elements should appear natural rather than leaning dramatically.
8. Highlight What Makes the Property Different
Every property has features that separate it from comparable listings.
Maybe it has:
- A renovated kitchen
- A large backyard
- A home office
- A custom fireplace
- A spacious primary suite
- A pool
- A scenic view
- A large garage
- An outdoor entertaining area
Make sure the photo collection communicates these advantages.
Do not photograph only rooms from the same basic angle. Use a combination of overview images and carefully selected detail shots.
A close-up of premium kitchen finishes, for example, can complement a wider kitchen photograph.
9. Stage the Home for the Camera
A room that feels comfortable in person may not automatically photograph well.
Furniture arrangement matters because the camera compresses a three-dimensional environment into a two-dimensional image.
Remove furniture that makes a room feel crowded and arrange remaining pieces to show the natural flow of the space.
NAR notes that staging should help highlight the function and beauty of the property and help buyers imagine themselves living there.
Use Props Carefully
Simple accessories can add warmth.
Examples include:
- Greenery
- Neutral textiles
- Simple artwork
- A small decorative object
- Tasteful kitchen accessories
Avoid excessive or overly obvious staging props.
The home should look believable rather than like a movie set.
10. Pay Attention to Small Photo Mistakes
Small details can weaken an otherwise excellent listing.
Before taking each photograph, check the frame carefully.
Look for:
- Toilet lids left open
- TVs displaying distracting content
- Vehicles blocking the driveway
- Open closet doors
- Visible trash cans
- Personal documents
- Unmade beds
- Tangled cables
- Cluttered countertops
NAR specifically identifies issues such as open toilet lids, running TVs, and vehicles in the driveway as common listing-photo mistakes.
A 30-second room check can prevent these distractions from appearing in the final listing.
11. Use Photo Editing Without Misrepresenting the Property
Basic editing can improve the presentation of real estate photos.
Appropriate adjustments may include:
- Exposure correction
- White balance
- Color correction
- Cropping
- Sharpening
- Minor shadow adjustments
These changes can help a photograph look closer to what a buyer would experience in person.
However, editing should not conceal important property conditions or create features that do not exist.
NAR’s recent guidance notes the growing importance of transparency around digitally altered images, particularly when edits add, remove, or materially change elements of a property.
Be Transparent With Virtual Staging
Virtual staging can help buyers visualize how an empty room could be furnished.
It can be useful, but buyers should understand when an image has been digitally staged.
Current NAR coverage notes that virtual staging can be effective when used to clarify a space rather than misrepresent it.
The principle is simple: enhance presentation, not reality.
12. Create a Logical Photo Sequence
The order of your listing photos matters.
Do not simply upload images in the order they were taken.
Create a visual story.
A possible sequence could be:
- Strong exterior or lead image
- Main living area
- Kitchen
- Dining area
- Primary bedroom
- Primary bathroom
- Additional bedrooms
- Office or flexible spaces
- Outdoor areas
- Garage and other useful features
The exact order should depend on the property’s strongest selling points.
NAR’s 2026 guidance on online listing visibility also emphasizes the importance of the lead image and photo sequencing in keeping buyers engaged with a listing.
Professional Real Estate Photography vs. Smartphone Photos
Modern smartphones can produce impressive photographs, particularly in good lighting.
However, professional real estate photographers bring more than camera equipment.
They understand:
- Composition
- Lighting
- Lens selection
- Color management
- Property presentation
- Image consistency
- Post-production
For higher-value properties or competitive markets, professional photography can provide a more polished and consistent presentation.
That does not mean every property requires expensive production. The right approach depends on the home, market, budget, and marketing strategy.
How Stronger Listing Photos Support the Entire Marketing Strategy
Photography should work together with the listing description, floor plan, video, virtual tour, and social media promotion.
A great photo can attract the initial click, while accurate property details help the buyer determine whether the home is actually a match.
NAR has recommended giving online listings the same level of attention as an in-person open house, including photos, video, virtual tours, and floor plans.
Think of photography as the visual foundation of the listing rather than a separate marketing task.
Frequently Asked Questions About Stronger Listing Photos
What makes stronger listing photos?
Stronger listing photos are clear, well-lit, properly composed, accurately edited, and designed to highlight the property’s most important features without creating unrealistic expectations.
Are professional real estate photos worth it?
Professional photography can provide better composition, lighting, consistency, and presentation. Whether it is worth the investment depends on the property, market, marketing budget, and seller’s goals.
How many photos should a real estate listing have?
There is no universal number that works for every property. The goal should be to provide enough images to give buyers a useful understanding of the home while avoiding repetitive or unnecessary photographs.
Should I use a wide-angle lens for real estate photography?
Wide-angle lenses can be useful, but they should be used carefully. Excessive wide-angle photography can distort room proportions and make spaces appear larger than they really are.
Can I edit real estate listing photos?
Yes. Normal adjustments such as exposure, white balance, cropping, sharpening, and color correction can improve presentation. However, edits should not materially misrepresent the property. Rules and disclosure requirements can vary by state.
Should I use virtual staging?
Virtual staging can help buyers visualize furniture and possible room layouts, particularly in vacant properties. When used, it should be presented transparently so buyers understand that the image is digitally staged.
Conclusion: Stronger Listing Photos Start With Better Preparation
In a digital-first real estate market, stronger listing photos can help a property make a better first impression and communicate its features more effectively to potential buyers.
The process starts before the photographer arrives. Clean and declutter the home, prepare the furniture, improve lighting, remove distractions, and identify the property’s most appealing features.
During photography, focus on realistic composition, balanced exposure, appropriate camera height, and useful coverage of the home’s major spaces. Afterward, use editing carefully and avoid changes that could make the property appear materially different from reality.
Most importantly, think about the buyer’s experience. The purpose of listing photography is not simply to make a house look attractive on a screen. It is to help buyers understand the property, imagine themselves living there, and decide whether it deserves a closer look.
When professional photography, thoughtful staging, accurate editing, and strategic photo sequencing work together, a listing can present the home at its genuine best while giving buyers the information they need to take the next step. That combination is what makes real estate photography more than decoration—it becomes an important part of the property’s marketing strategy.